
Equipment that is the right size but poorly adjusted remains equipment that can cause discomfort, or even injury. The size of the bridle or saddle is chosen once; adjustment, on the other hand, is checked at each session, because it depends on the horse's mood that day, its coat in that season, and its physical condition. This article does not cover taking measurements or size conversions: it proposes a practical method, a checklist applicable to all tack (bridle, noseband, bit, saddle, girth, pad), to go through before mounting. Ten concrete points, observable in a few minutes, to identify approximate adjustment before it results in a rub mark or a change in behaviour.
Why does fit trump size
A bridle or saddle size is a starting point, not a guarantee. Two horses of the same build can have very different heads or backs, and the same horse changes throughout the year. It's the actual, element-by-element fit that determines whether the equipment respects sensitive areas or presses in the wrong place.
The issue isn't just comfort. The work of British veterinarian Sue Dyson on Ridden Horse Pain Ethogram highlighted a range of behaviours (repeated head movements, yawning, tail swishing, arched back, resistance) which occur significantly more frequently in horses experiencing pain under the saddle, pain that ill-fitting tack can cause or worsen. In other words, many «defensive» behaviours attributed to temperament or training are actually signals of physical discomfort. Learning to read these signals, and checking equipment beforehand, is part of being a rider.
The guiding principle A fitting is confirmed by observation, never by the size label alone. A rule of thumb (two fingers, a fist) provides a guideline; the horse's morphology and its reaction confirm or invalidate it.
This checklist is a supplement to our detailed guides. For measurements and size correspondence, please refer to the Horse and pony size guide ; for morphological particularities according to breed, to Breed morphology guide. This article focuses on the act of checking, not on the choice of size.
The head tack: points 1 to 5
The head contains superficial nerves and blood vessels, which are poorly protected by tissues. Five settings adjust the bridle. These are adjusted in order, from top to bottom.
Point 1 — The headpiece and the poll area
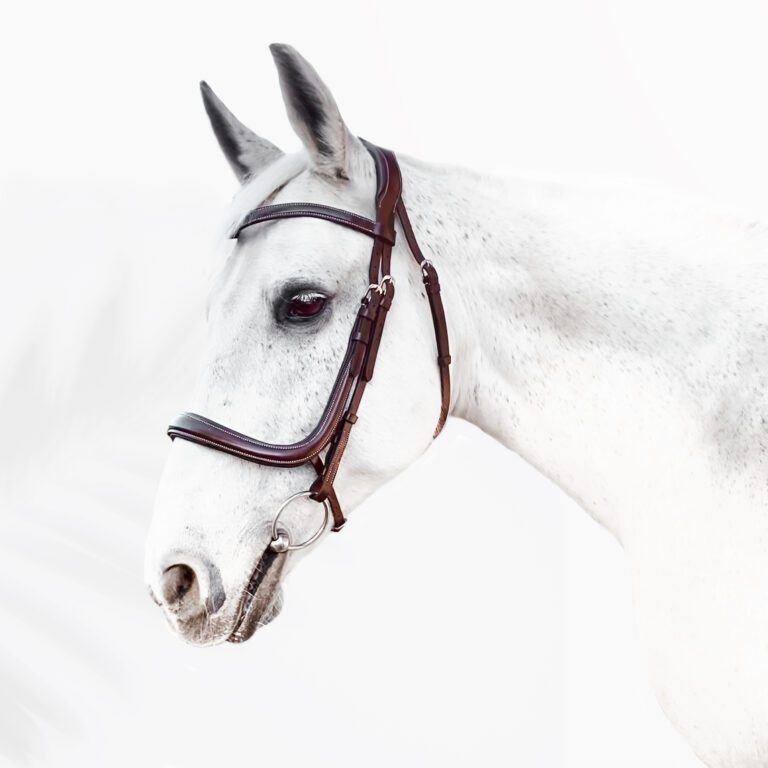
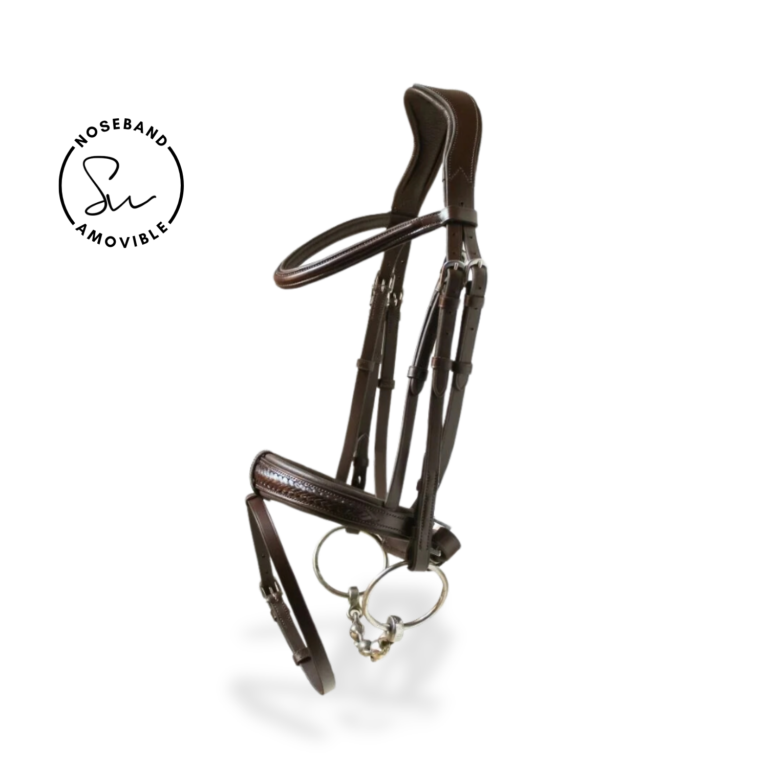
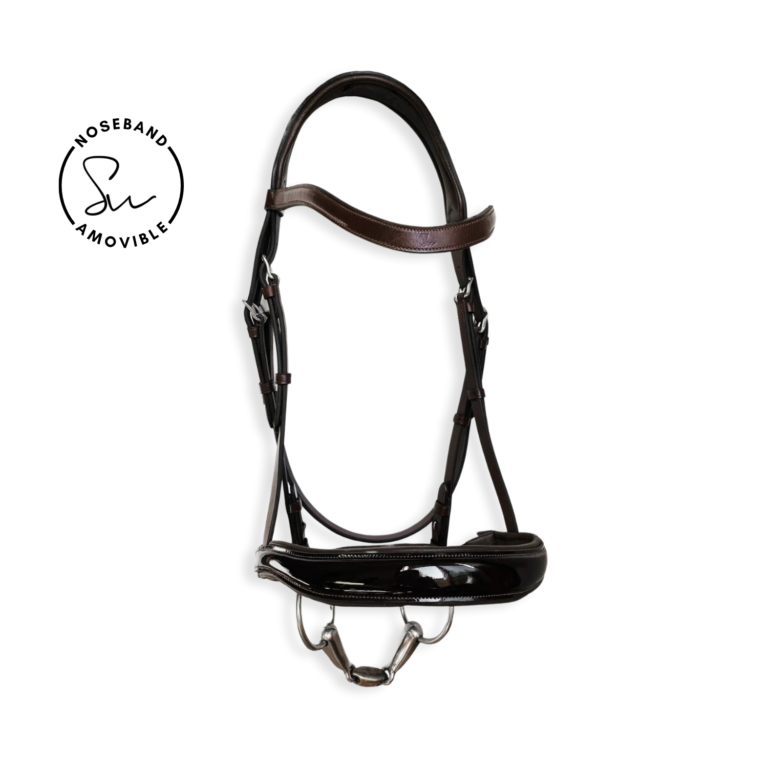
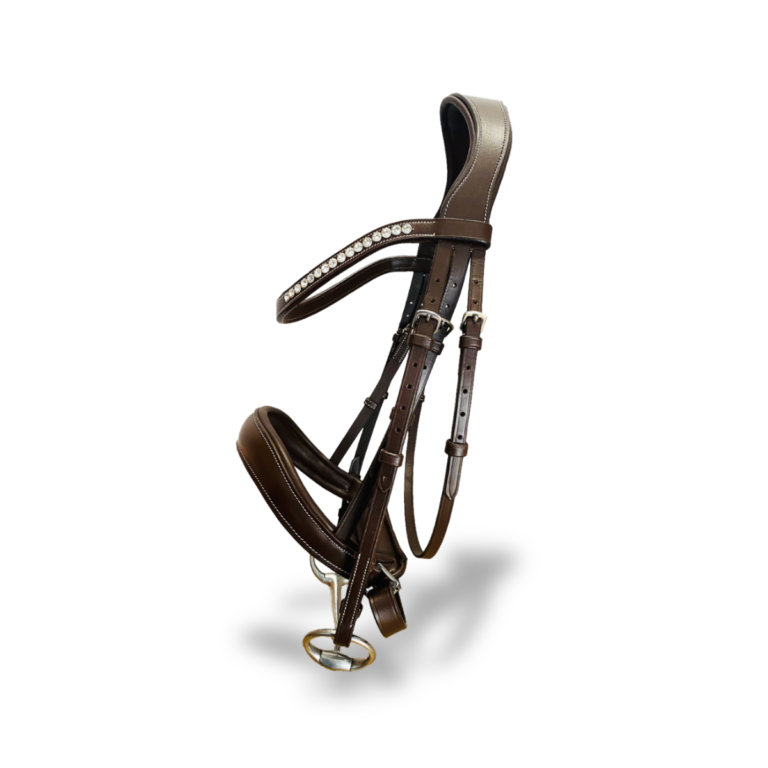
The headpiece rests on the nape of the neck, just behind the ears, on a major pressure point. It should neither pinch the base of the ears nor slip forward. A biomechanical study (MacKechnie-Guire et al.) showed that pressure peaks under the headpiece concentrate near the base of the ears, and that a cut-away headpiece significantly reduces them compared to a classic flat headpiece: this is precisely the benefit of anatomical cuts. Check that you can slide a flat hand under the headpiece without forcing it, and that the browband does not pull the whole assembly forward.
Point 2 — The browband
The browband should be long enough so that it doesn't pull the headpiece against the base of the ears. If it is too short, it creates a constant forward pull and a friction zone where the ears attach. If it is too long, it gaps and loses its function. The correct indicator: the headpiece remains free behind the ears, without any visible folds or tension.
Point 3 — The noseband
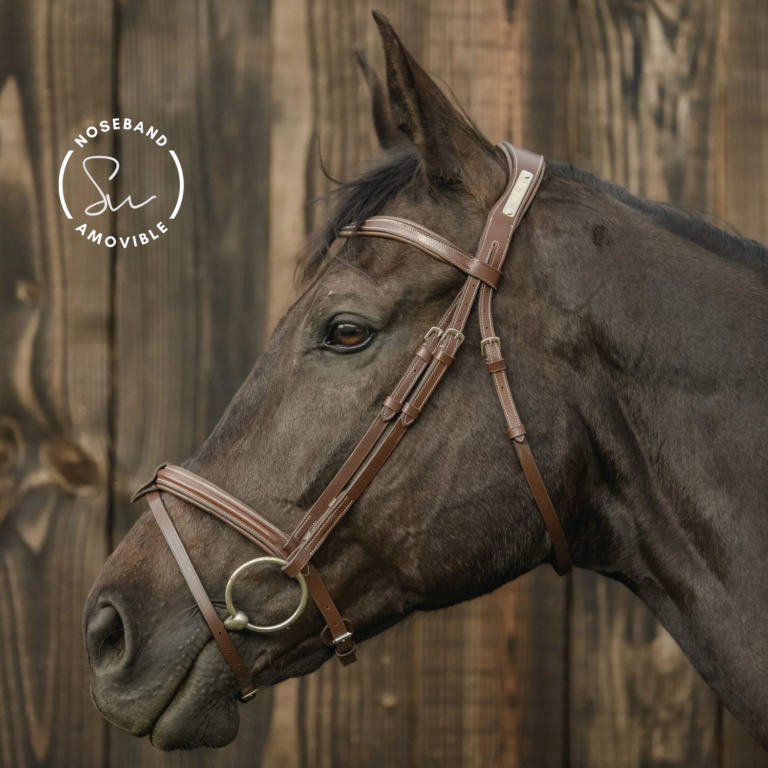
This is the most scrutinised setting, and rightly so. The benchmark rule, worn by the’International Society for Equitation Science and adopted by the International Equestrian Federation, is to be able to slide two adult fingers (approx. 1.5 cm) between the noseband and the nasal bone, measured on the front of the muzzle. Since the 1stOh May 2025, the FEI will check this point in competition using a standardised measuring device slipped under the noseband: if it passes, the noseband is deemed loose enough. A noseband that is too tight blocks chewing, prevents natural jaw movement and presses on thin bony areas. It should also never rest too low, on the soft part of the nostrils.
Point 4 — The bit
The bit is adjusted via the cheekpieces so as to form a slight wrinkle at the corner of the mouth: neither set too high (it stretches the mouth permanently) nor hanging too low (it knocks against the teeth and invites the horse to put its tongue over it). The width of the bit matters as much as its height: a bit that is too wide slides and pinches, a bit that is too narrow squeezes the corners of the mouth.
Point 5 — The throatlatch
The throatlash only serves to prevent the bridle from slipping over the horse's head: it should never be tight. The classic guide is to be able to fit a fist (flat or sideways, depending on the horse's size) between the throatlash and the jaw. A throatlash that is too tight restricts the flexion of the poll and makes breathing difficult, without offering any benefit in terms of stability.
Special case of sensitive nerves: part of the horses affected by Headshaking (involuntary and repeated headshaking) suffer from hypersensitivity of the trigeminal nerve, independent of tack, as documented notably by the UC Davis veterinary school. Poorly fitted tack does not cause this condition, but it can worsen the discomfort of an already sensitive horse. Faced with persistent headshaking that does not disappear after checking adjustments, veterinary advice is essential, rather than tightening the tack, which would aggravate the discomfort.
The saddle and the girth: points 6 to 9
The saddle distributes the rider's weight over the back. A poor fit is paid for in pressure points, in restricted movement and, in the long run, in muscular disorders. Four checks before mounting.
Point 6 — Clearance of the withers
Once the saddle is in place and the rider is mounted, sufficient space must be maintained between the pommel and the wither, along its entire height and on the sides. The saddle must never rest on the wither or pinch it. This is one of the points that changes most with musculature: a horse that builds muscle or loses it changes its wither profile within a few weeks.
Point 7 — The horizontality and contact of the panel
The saddle seat should be generally horizontal (the lowest point in the centre, not tipped forwards or backwards), and the panels should conform to the back along their entire length, without bridging or localized pressure. This is checked by passing a flat hand under the panels, on both sides: the pressure should be even, with no pinching or empty zones. Finally, the gullet should match the horse's shoulder width so as not to pinch or be too loose.
Point 8 — The girth and the girth groove
The girth should be placed about a hand's width behind the elbow, in its natural position, without pinching any folds of skin. Girth gradually, in several stages, and check after a few minutes of relaxation: the horse often «expands» after the initial girthed. The girth should hold the saddle in place without being a vice: over-tightening impedes breathing and shoulder movement.
Point 9 — Overall symmetry
Placed behind the horse, check that the saddle is centred on the spine, that the stirrup leathers hang at the same height, and that nothing pulls to one side. A saddle that consistently shifts to the right or left indicates either an asymmetry of the saddle, an asymmetry of the horse's back, or a poorly placed girth: this is a signal to investigate, not to correct by tightening further.
The saddle pad and the final check: point 10
Point 10 — The mat and post-exercise checks
The saddle pad (or half pad) must be pulled up into the gullet of the saddle before girthing, so as not to press on the withers or the spine. It does not correct a saddle that does not fit: adding material under a saddle that is already too narrow worsens the compression instead of relieving it.
The most informative control comes after The session. By removing the saddle, observe the sweat marks on the horse's back and on the pad: a perfectly dry area surrounded by damp areas betrays a pressure point where sweat could not escape. Similarly, look for areas of broken, depigmented, or worn hair on the head and back, and any scabs: these are the silent witnesses of repeated friction. These observations are often more telling than a long, cold inspection.
The ten-point checklist, to go through before each session:
- Headrest — a flat hand slides under the nape, no crease, forehead not pulled.
- Front"} — Long enough, headboard free behind the ears.
- Noseband — two fingers (1.5 cm) on the front of the bevel, never on the nostrils.
- Bit — slight crease at the corner, width suitable.
- Throatlatch — a little game never hurt anyone.
- Garrot — clear under the pommel, rider in position.
- Signs — horizontal seating position, consistent contact, suitable arch support.
- Girth — one hand behind the elbow, applying pressure gradually, without causing any skin folds.
- Symmetry — the saddle is centred, with the stirrups at the same height.
- Cool-down and post-exercise check — Pushed back into the guttering, even sweat marks upon removal.
| Element | Adjustment mark | Warning signal |
|---|---|---|
| Headrest | A flat hand underneath | Fold on the poll, worn hair behind the ears |
| Noseband | Two fingers (≈1.5 cm) on the nasal bridge | Blocked mastication, mark on the nasal bone |
| Bit | Slight wrinkle at the corner of the mouth | Tongue put over the bit, sores at the corners of the mouth |
| Throatlatch | A fist of play | Discomfort when bending the neck |
| Saddle (withers) | Clear space under the pommel | White hair on the withers, hollowed back |
| Girth | A hand's width behind the elbow | Pinched fold of skin, irritation of the girth groove |
| Saddle pad | Pulled up into the gullet | Dry area surrounded by sweat |
How often to run through the checklist
Once you’ve got the hang of it, this check takes just a few minutes and becomes second nature during grooming. However, the underlying adjustment needs to be reassessed more broadly in a number of situations:
- As the season changes: The winter coat thickens on the head and back, often making it necessary to loosen the girth by one notch; when the short summer coat returns, the opposite is true.
- After a change in physical condition: A horse that builds muscle, gains or loses weight changes shape, particularly at the withers and around the girth.
- In a young, growing horse: Morphology evolves quickly, close monitoring avoids silent friction.
- After returning to work or recovering from an illness: The back muscles rebuild themselves and alter the way the saddle sits.
In any case, equipment that is the right size but whose leather widths or cut are not suited to the animal’s build remains a compromise. The pony is a good example of this: its proportions are not those of a smaller horse, and a miniature horse bridle rarely fits properly. We discuss this point in detail in the Guide to pony bridles. On the role of fit and biomechanics in comfort, our Dossier on ergonomic equipment complete this approach.
The SmartWag Approach: simplified adjustment from the design stage
Well-thought-out equipment is easier to adjust and better respects sensitive areas. At SmartWag, the Customisable leather bridles They are made from vegetable-tanned full-grain leather, hand-stitched using the saddle stitch technique, and available in several sizes to fit ponies and horses. The anatomical cut-outs relieve pressure on the poll and noseband areas, and the suppleness of well-maintained full-grain leather conforms to the horse's morphology rather than marking the skin. In contrast, stiff or poorly finished leather can create friction points.
The width of the leather and the sizing of the components are as important as the overall size: a bridle that is proportionate to the head distributes pressure better than an oversized model adjusted to the maximum of its buckles. It is this logic of adaptation to actual morphology, rather than just overall size, that guides our Swiss artisanal manufacturing.
Frequently asked questions
How often should you check the fit of your equipment?
The bridle and saddle fittings are checked before each session, taking only a few seconds once the knack is acquired. Fundamental adjustments (bridle size, saddle fit to the back) are re-evaluated more broadly at each change of season, after a variation in the horse's physical condition, and systematically for a young, growing horse. Winter coat, or a gain or loss of muscle mass, alter volumes and can make equipment that was suitable a few months earlier unsuitable.
How do you know if a noseband is too tight?
The benchmark rule, advocated by the International Society for Equitation Science and adopted by the FEI, states that two adult fingers (approximately 1.5 cm) should be able to fit between the noseband and the nasal bone at the front of the muzzle. Since May 2025, the FEI has been using a standardised measuring device slipped under the noseband in competitions to make this check more objective. A noseband that does not allow for this space restricts chewing and presses on sensitive areas: it is too tight.
Quels signes montrent qu’un équipement blesse le cheval ?
Several clues are accumulating: areas of broken, depigmented, or worn hair under the tack or saddle, friction marks and scabs, irregular sweat marks after work (dry areas indicating excessive pressure), and changes in behaviour (head shaking, constant open mouth, back contractions, resistance to contact). Sue Dyson's work on the Ridden Horse Pain Ethogram shows that these behaviours under the saddle are often an expression of pain, which poor fitting can cause or worsen.
How long does it take to get a horse used to a new piece of equipment?
There is no set timeframe, but the principle is agreed upon: introduce the new item gradually, one at a time, starting with short sessions before returning to the usual routine. The horse's reaction is observed at each stage rather than imposing the equipment immediately. New, still stiff leather also benefits from being softened by a cleaning and conditioning before prolonged first use.
Should you re-take your measurements every time you buy new equipment?
Yes, as commercial sizes (Pony, Cob, Full) vary from one manufacturer to another and do not replace actual measurements. The head circumference for a bridle, the gullet width and back length for a saddle, the girth circumference: these indicators guide the choice, but it is the trial on the animal that validates the fit. Our dedicated guides detail how to take measurements and size conversions.
Equipment designed to adapt, not just to fit.
The best fitting starts with well-designed equipment. At SmartWag, every bridle and sidepull is made from vegetable-tanned full-grain leather, hand-stitched using saddle stitching, with cuts that free up sensitive areas of the head and your horse's name engraved for free. Our various sizes and our Swiss craftsmanship allow us to adjust the components as closely as possible to the actual morphology, from pony to horse.
Discover some models from our range of Customisable leather bridles :
- Mont Blanc anatomical bridle anatomical cut-out to relieve pressure points from the headpiece and noseband.
- Bridon New Soul — Versatile contemporary design, full-grain leather, saddle-stitched.
- Bridon Shambord — Timeless classic, hand-stitched full-grain leather.
Unsure about the size, or a horse «between sizes»? Contact us: we'll help you choose the most suitable fit for your mount.