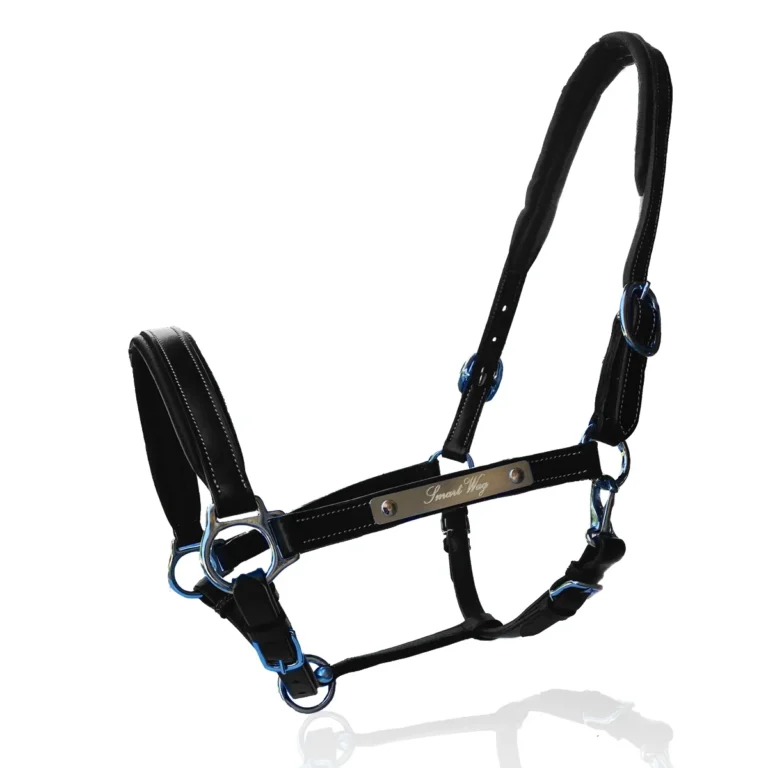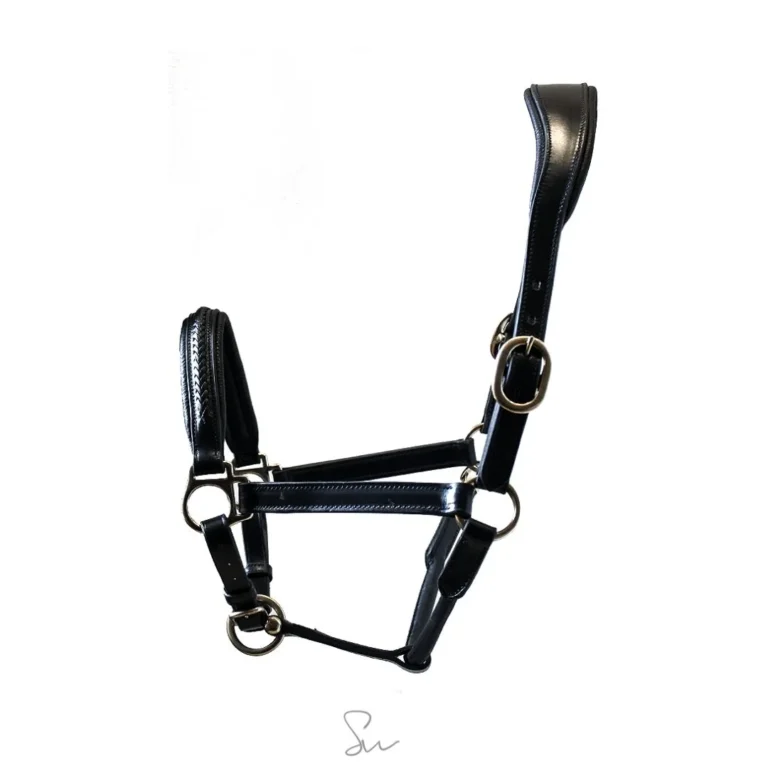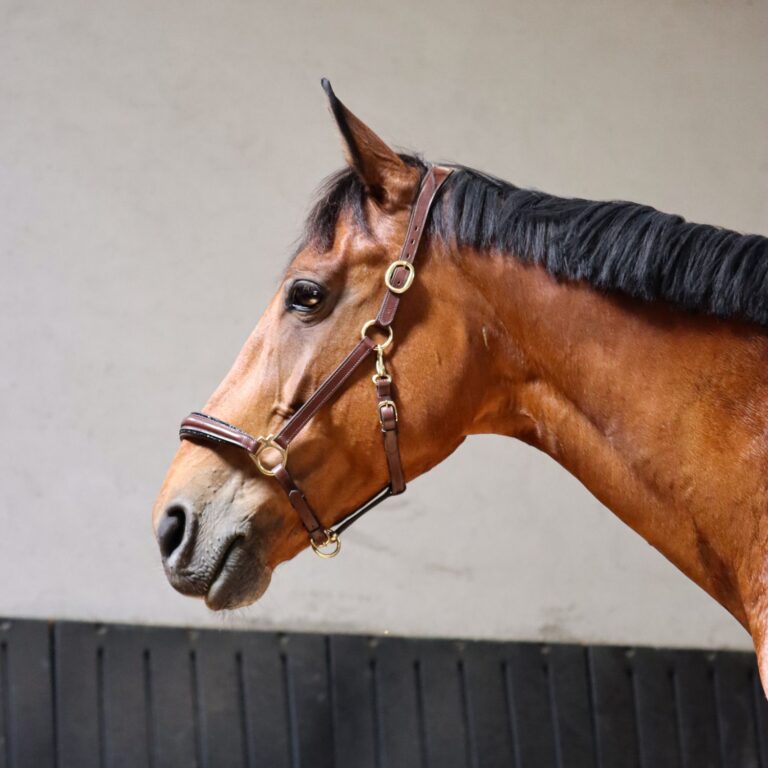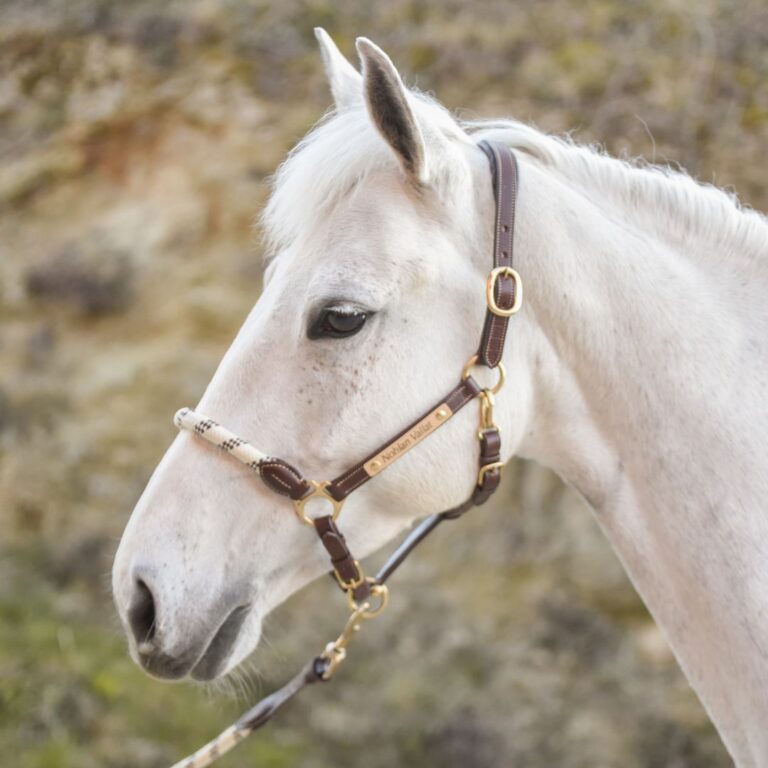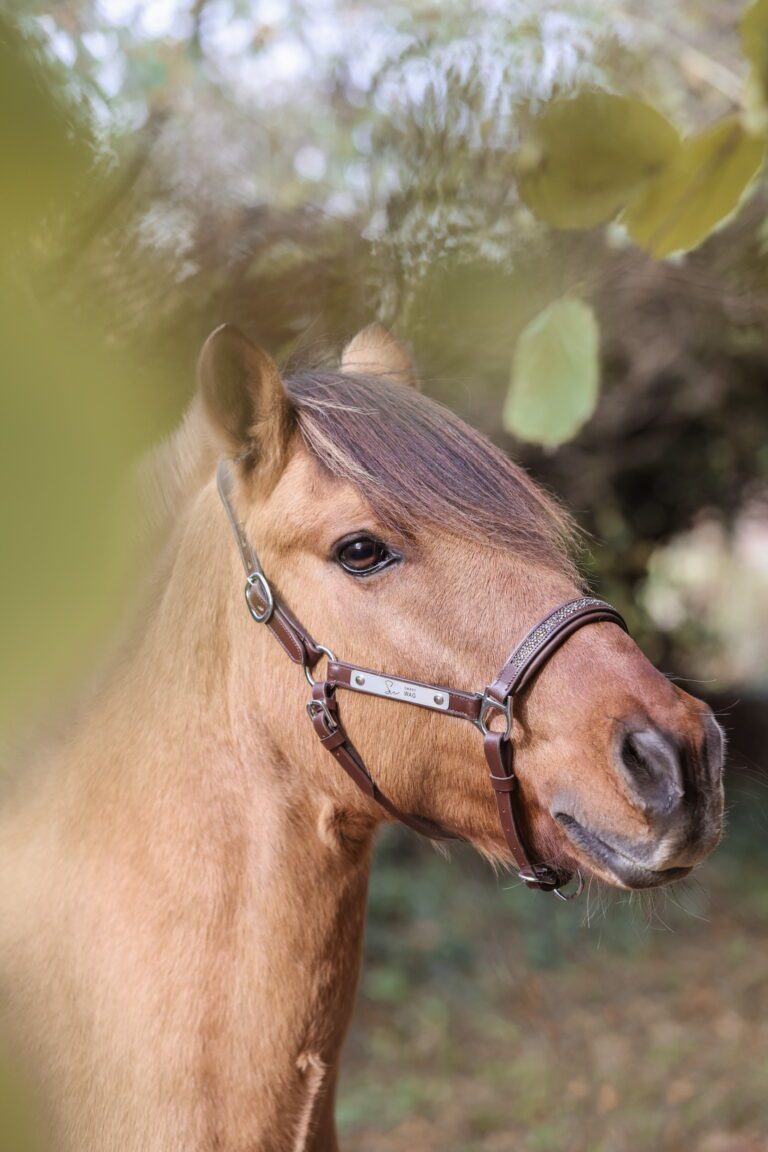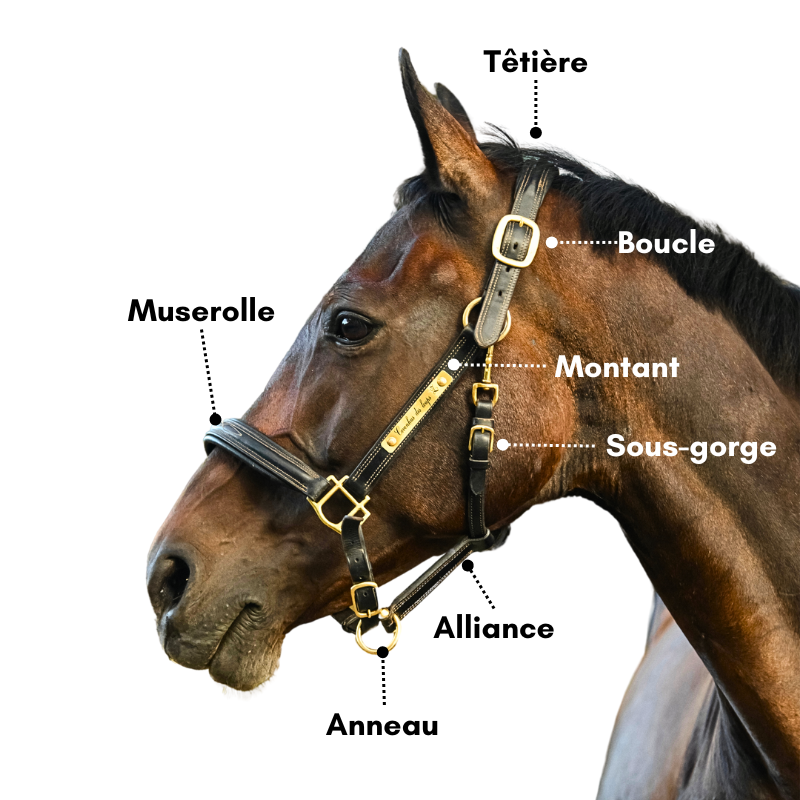
The 9 essential parts you need to know
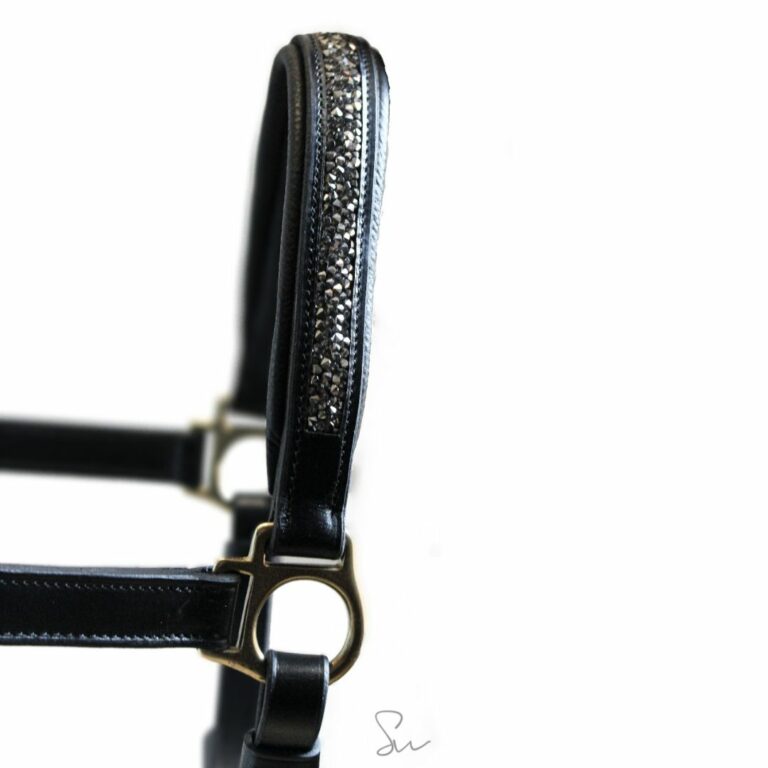
1. Headrest
This is the part that goes behind your horse's ears. It holds the halter in place on the head. Always check that it fits properly, neither too tight nor too loose!
2. Amount
The uprights are the vertical parts that connect the top of the head to the noseband. They should follow the contours of your horse's face without getting in the way.
3. Noseband
La noseband is the horizontal part that passes over your horse's nose. It should be placed two fingers below the zygomatic apophysis and about one handbreadth (4 fingers) above the nostrils so as not to impede breathing.
4. Under gauge
This strap goes under your horse's throat and prevents the halter from slipping over his head. It should be loose enough to allow your horse to swallow comfortably.
5. Alliance
The wedding ring is the piece of leather that connects the noseband to the underlay. It is an important element which ensures the cohesion of these two parts of the halter.
6. Attachment ring
Located under the noseband, this attachment ring is where you attach your lead rope to drive your horse or the snap hook to tie it.
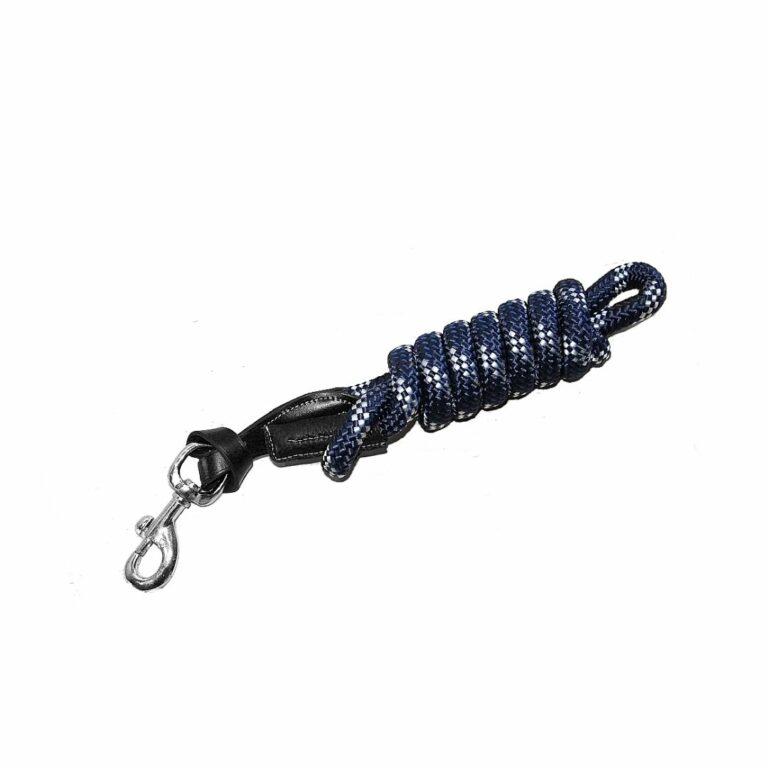
7. Safety snap hook
This metal clasp is located on the lead rope and allows you to quickly attach your horse to the ring of the halter. The safety system allows you to quickly detach the lead rope if necessary, for example if your horse panics.
8. Lanyard
The rope that attaches to the tie-ring and allows you to guide your horse. It is generally between 2 and 3 metres long.
9. Loop
The buckles allow you to adjust the different parts of the halter to your horse's morphology. They are generally found on the top of the head and sometimes on the throat latch.
10. Buckle
La loop includes all the metal buckles and rings on the halter. These are used to adjust the different parts of the halter and to secure the lead rope. They must be strong and well maintained to ensure your horse's safety and comfort.
How to use your halter properly
To put a halter on your horse correctly, hold it with the noseband down and the top of head open in your right hand. Approach calmly, slide the noseband over the nose, then pull the top of the head up behind the ears before buckling it.
To tie your horse safely, you need to learn how to do a attachment knot. This special knot unties easily if your horse pulls on it, preventing him from injuring himself or breaking his halter.
Pro tip
Always check that you can slip two fingers between the halter and your horse's head. If it's too tight, he'll be uncomfortable, and if it's too loose, he could break free on his own!
Frequently asked questions
What's the difference between a halter and a net?
The halter is only used to hold and guide your horse on foot, while the Bridle has a bit and reins to steer it when you are on its back.
What materials are used for halters?
Halters are available in nylon (strong and easy to clean), leather (traditional and comfortable) or rope (lightweight and adjustable). The choice depends on your budget and how you intend to use it.
Mini-quiz: Test your knowledge!
- Which part of the halter goes behind the horse's ears?
- What is the purpose of the attachment ring?
- What do you call the part that goes over the horse's nose?
- Why is it important to learn how to tie a knot?
- Which part prevents the halter from slipping over the horse's head?
Now that you know the main parts of the halterDon't hesitate to practise using this essential equipment regularly!